By Matt,
Two of the biggest decision making points on a net-zero home is insulation and air sealing. The level of insulation and tightness of the house has to be great enough to balance the amount of solar or wind energy the site is going to generate. Often the choice is to keep air sealing and insulation separate. For example rigorous taping and caulking of the sheathing (the air barrier) and then filling the stud bays with cellulose (the insulation). Sometimes the two are combined, for example when the stud bays are sprayed with open or closed cell foam. The building codes have risen in recent times making a home built to code a relatively energy efficient house. Code in Minnesota is for R-21 for the walls and R-49 for the ceiling. For the walls that means a 2×4 wall (3.5 inches of insulation) with batt insulation will no longer bring you up to code yielding only an R of 15. This means that builders are having to either build 2×6 walls (R-21 with batt) or add external rigid insulation. The air leakage is measured by doing a blower door test (now required by code) where the house is depressurized to 50 pascals (ACH50) and the amount of air exchanges per hour is measured. Many older homes (1900-1940) have ACH50 of 10-20. The 2009 IECC energy code requirement for new homes was 7. The 2012 Code for Minnesota is for an ACH50 of 3. The passive house standard for ACH50 is 0.6.
Our initial plan was for 2 x 6 walls with 5″ of closed cell foam and as much exterior insulation (up to 4 inches) as possible. The external insulation was required not only to get the necessary R-value (as close to 40 as possible) but also to prevent thermal bridging. As much of 25 percent of a wall assembly are studs (2×4, 2×6 wood) with an R-value of 1.25 per inch of wood. That means as much as 25% of the wall has an R value as low as 4-6.
At an R of 5 per inch, 2″ or rigid insulation would bring our R-value up to 42.5. However, many subcontractors were balking at doing more than an inch of exterior rigid insulation as it makes putting up siding and detailing the windows more finicky. In addition, the correct ratio of outer insulation to inner insulation needs to be considered. If the outer insulation is of insufficient depth then the sheathing ( which is in between the outer rigid insulation and the bay insulation) becomes a condensing layer and the sheathing will rot. The thickness of the rigid foam varies by climate zone. To prevent moisture accumulation, cold-climate builders need to install thicker rigid foam than warm-climate builders. See this table posted on Green Building Advisor for climate zones and ratio of exterior to interior insulation. According to this table (for climate zone 6) we would need 36% of our total R-value to come from exterior insulation. For a 2 x 6 wall with 5 inches of closed cell insulation (R 32.5) with one inch of exterior insulation (R-5) or two inch (R-10) or three inches (R-15) would only yield percentages of 13.3, 23.5 and 31.5%, not meeting the required 36%. Only four inches of exterior insulation meets the standard (38%). So with only one inch of exterior insulation offered by local contractors our sheathing had a likelihood of being damp and possibly rotting.
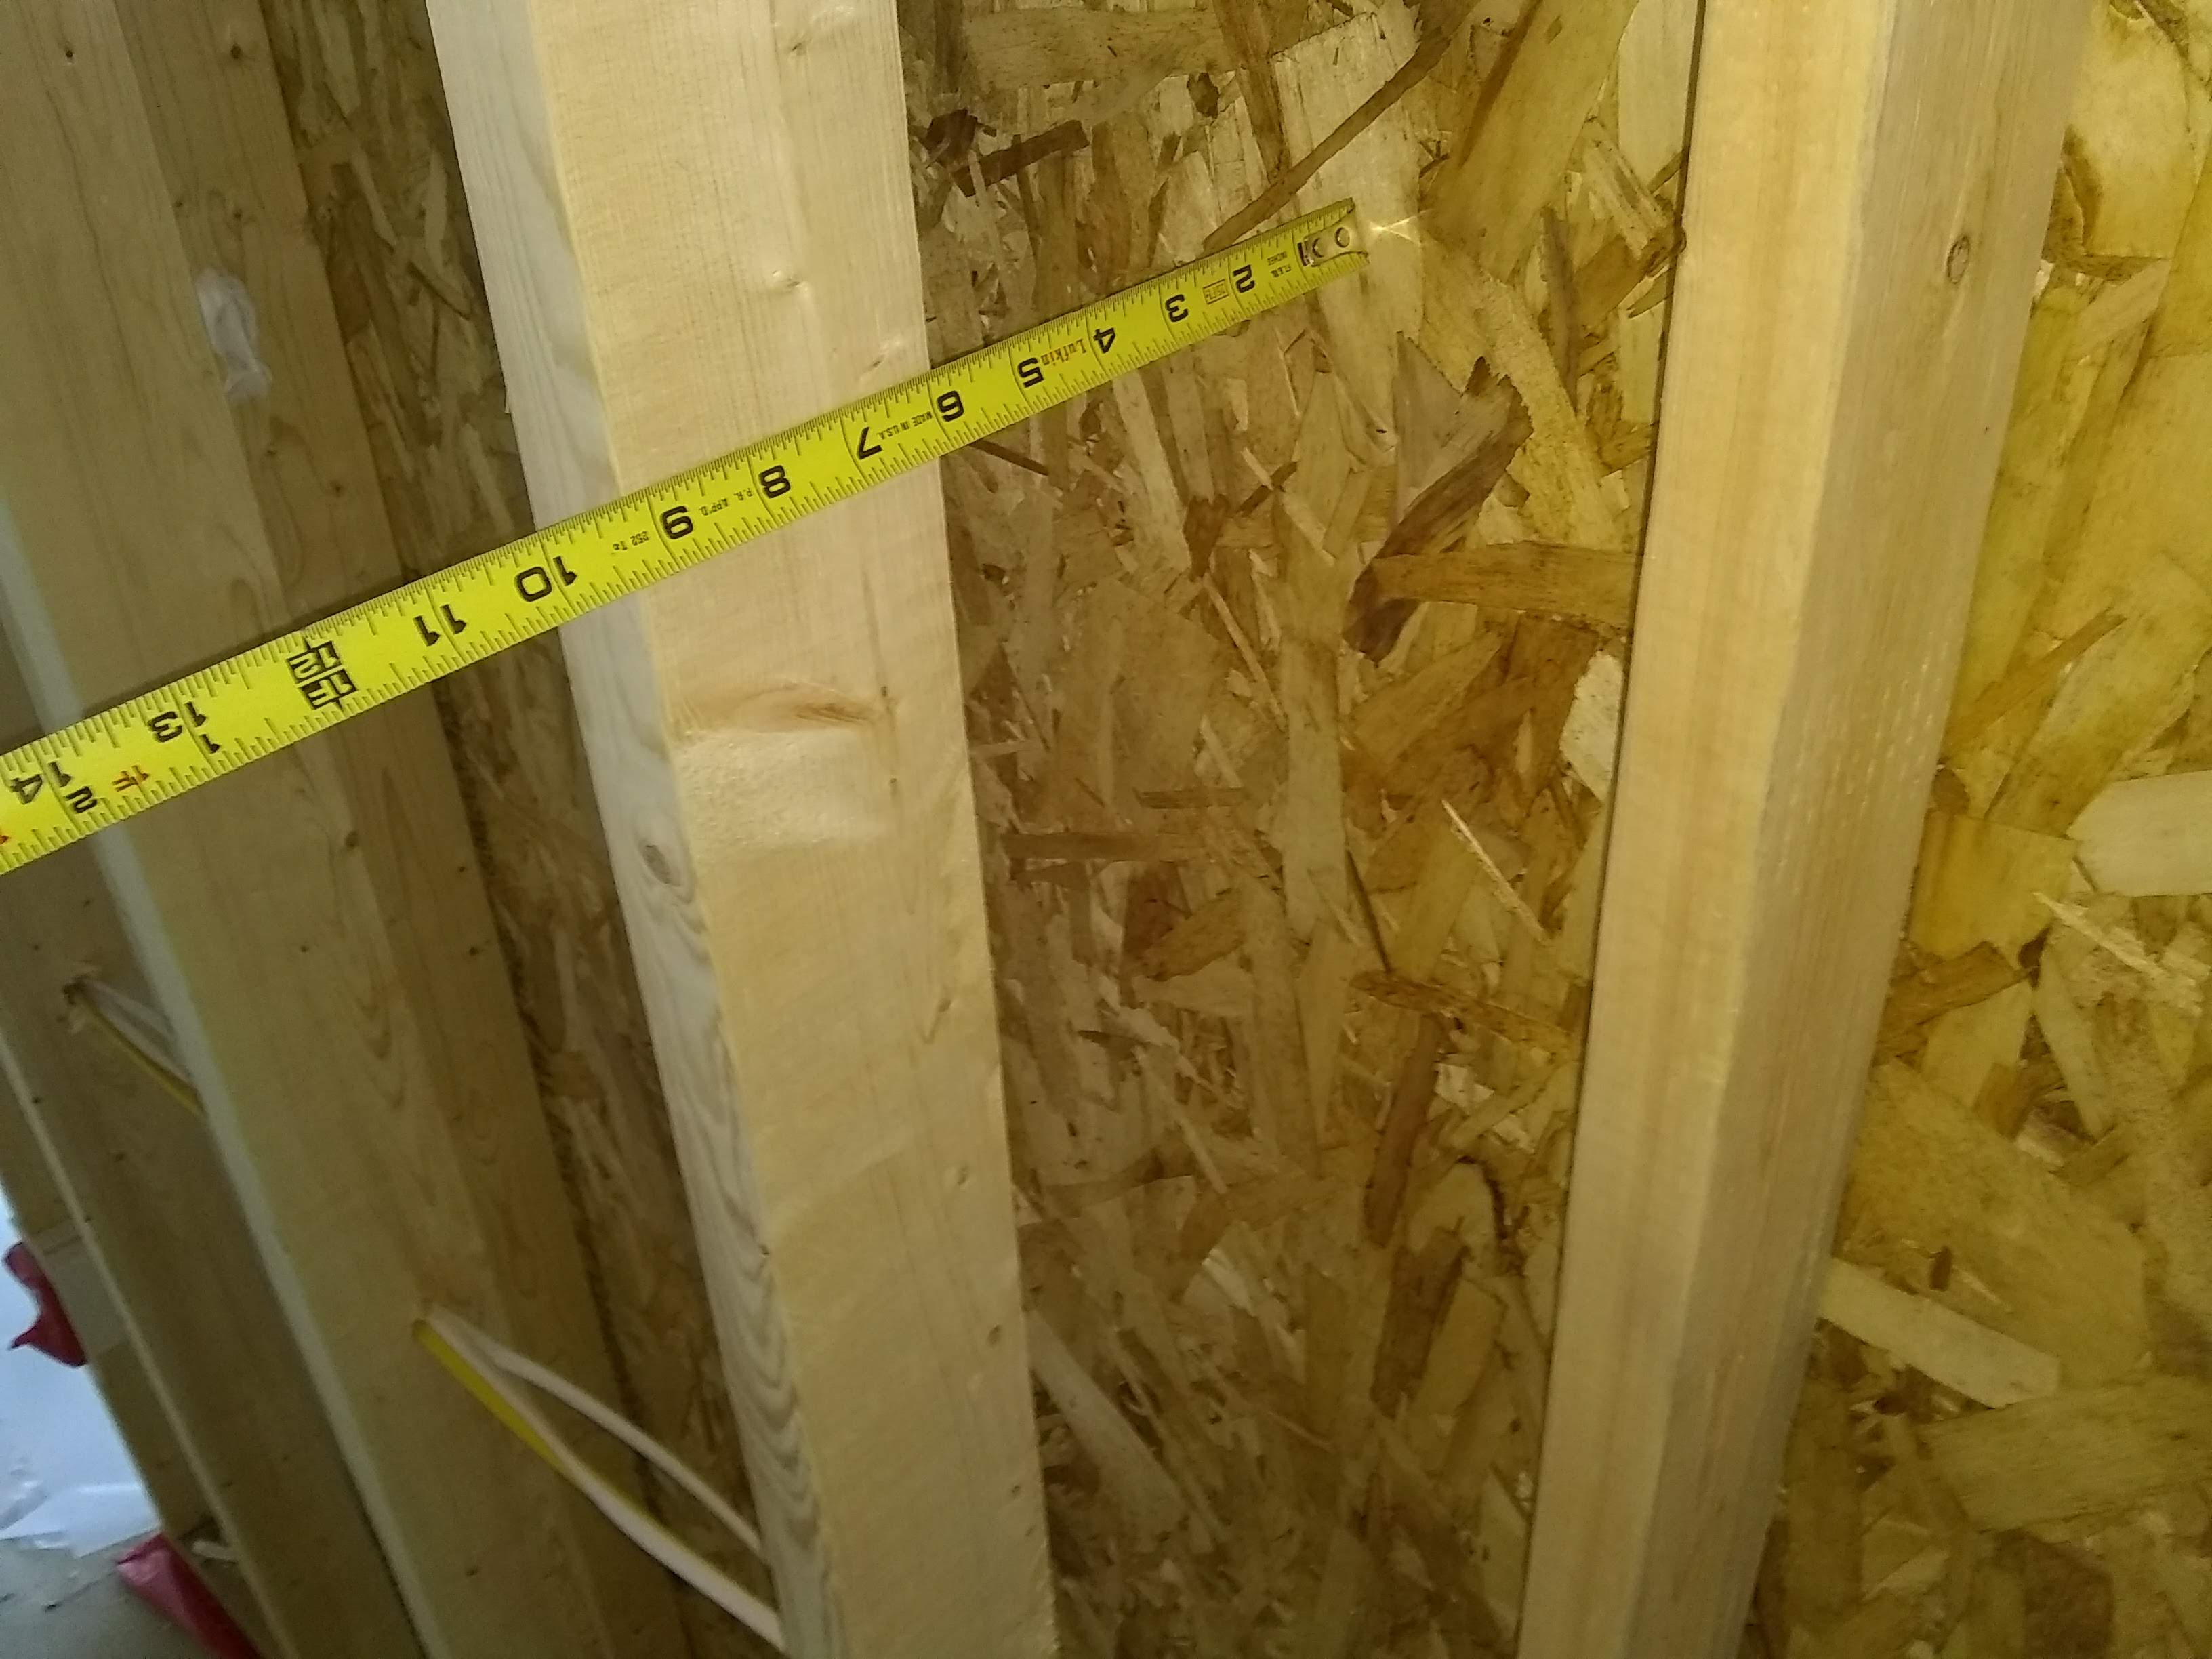
Luckily we were able to work with our builder to use the originally blueprinted design to switch to a staggered double stud wall. The wall ended being two 2×4 walls separated by 2.25 inches. Now the choice was what to fill that cavity with. This article by Green building advisor suggested that despite Closed cell foam (6.5) having a significant increase in R value over open cell foam (3.5) that open cell foam was a better value. Closed cell foam hardens like a rock and therefore contractors have to leave a significant portion of the bays not filled (half inch to an inch) while with open cell foam the bay can be completely filled and then shaved back to the stud depth. In addition closed cell foam is 50 to 100% more expensive and uses hydrofluorocarbons (HFCs) with a high global warming potential.
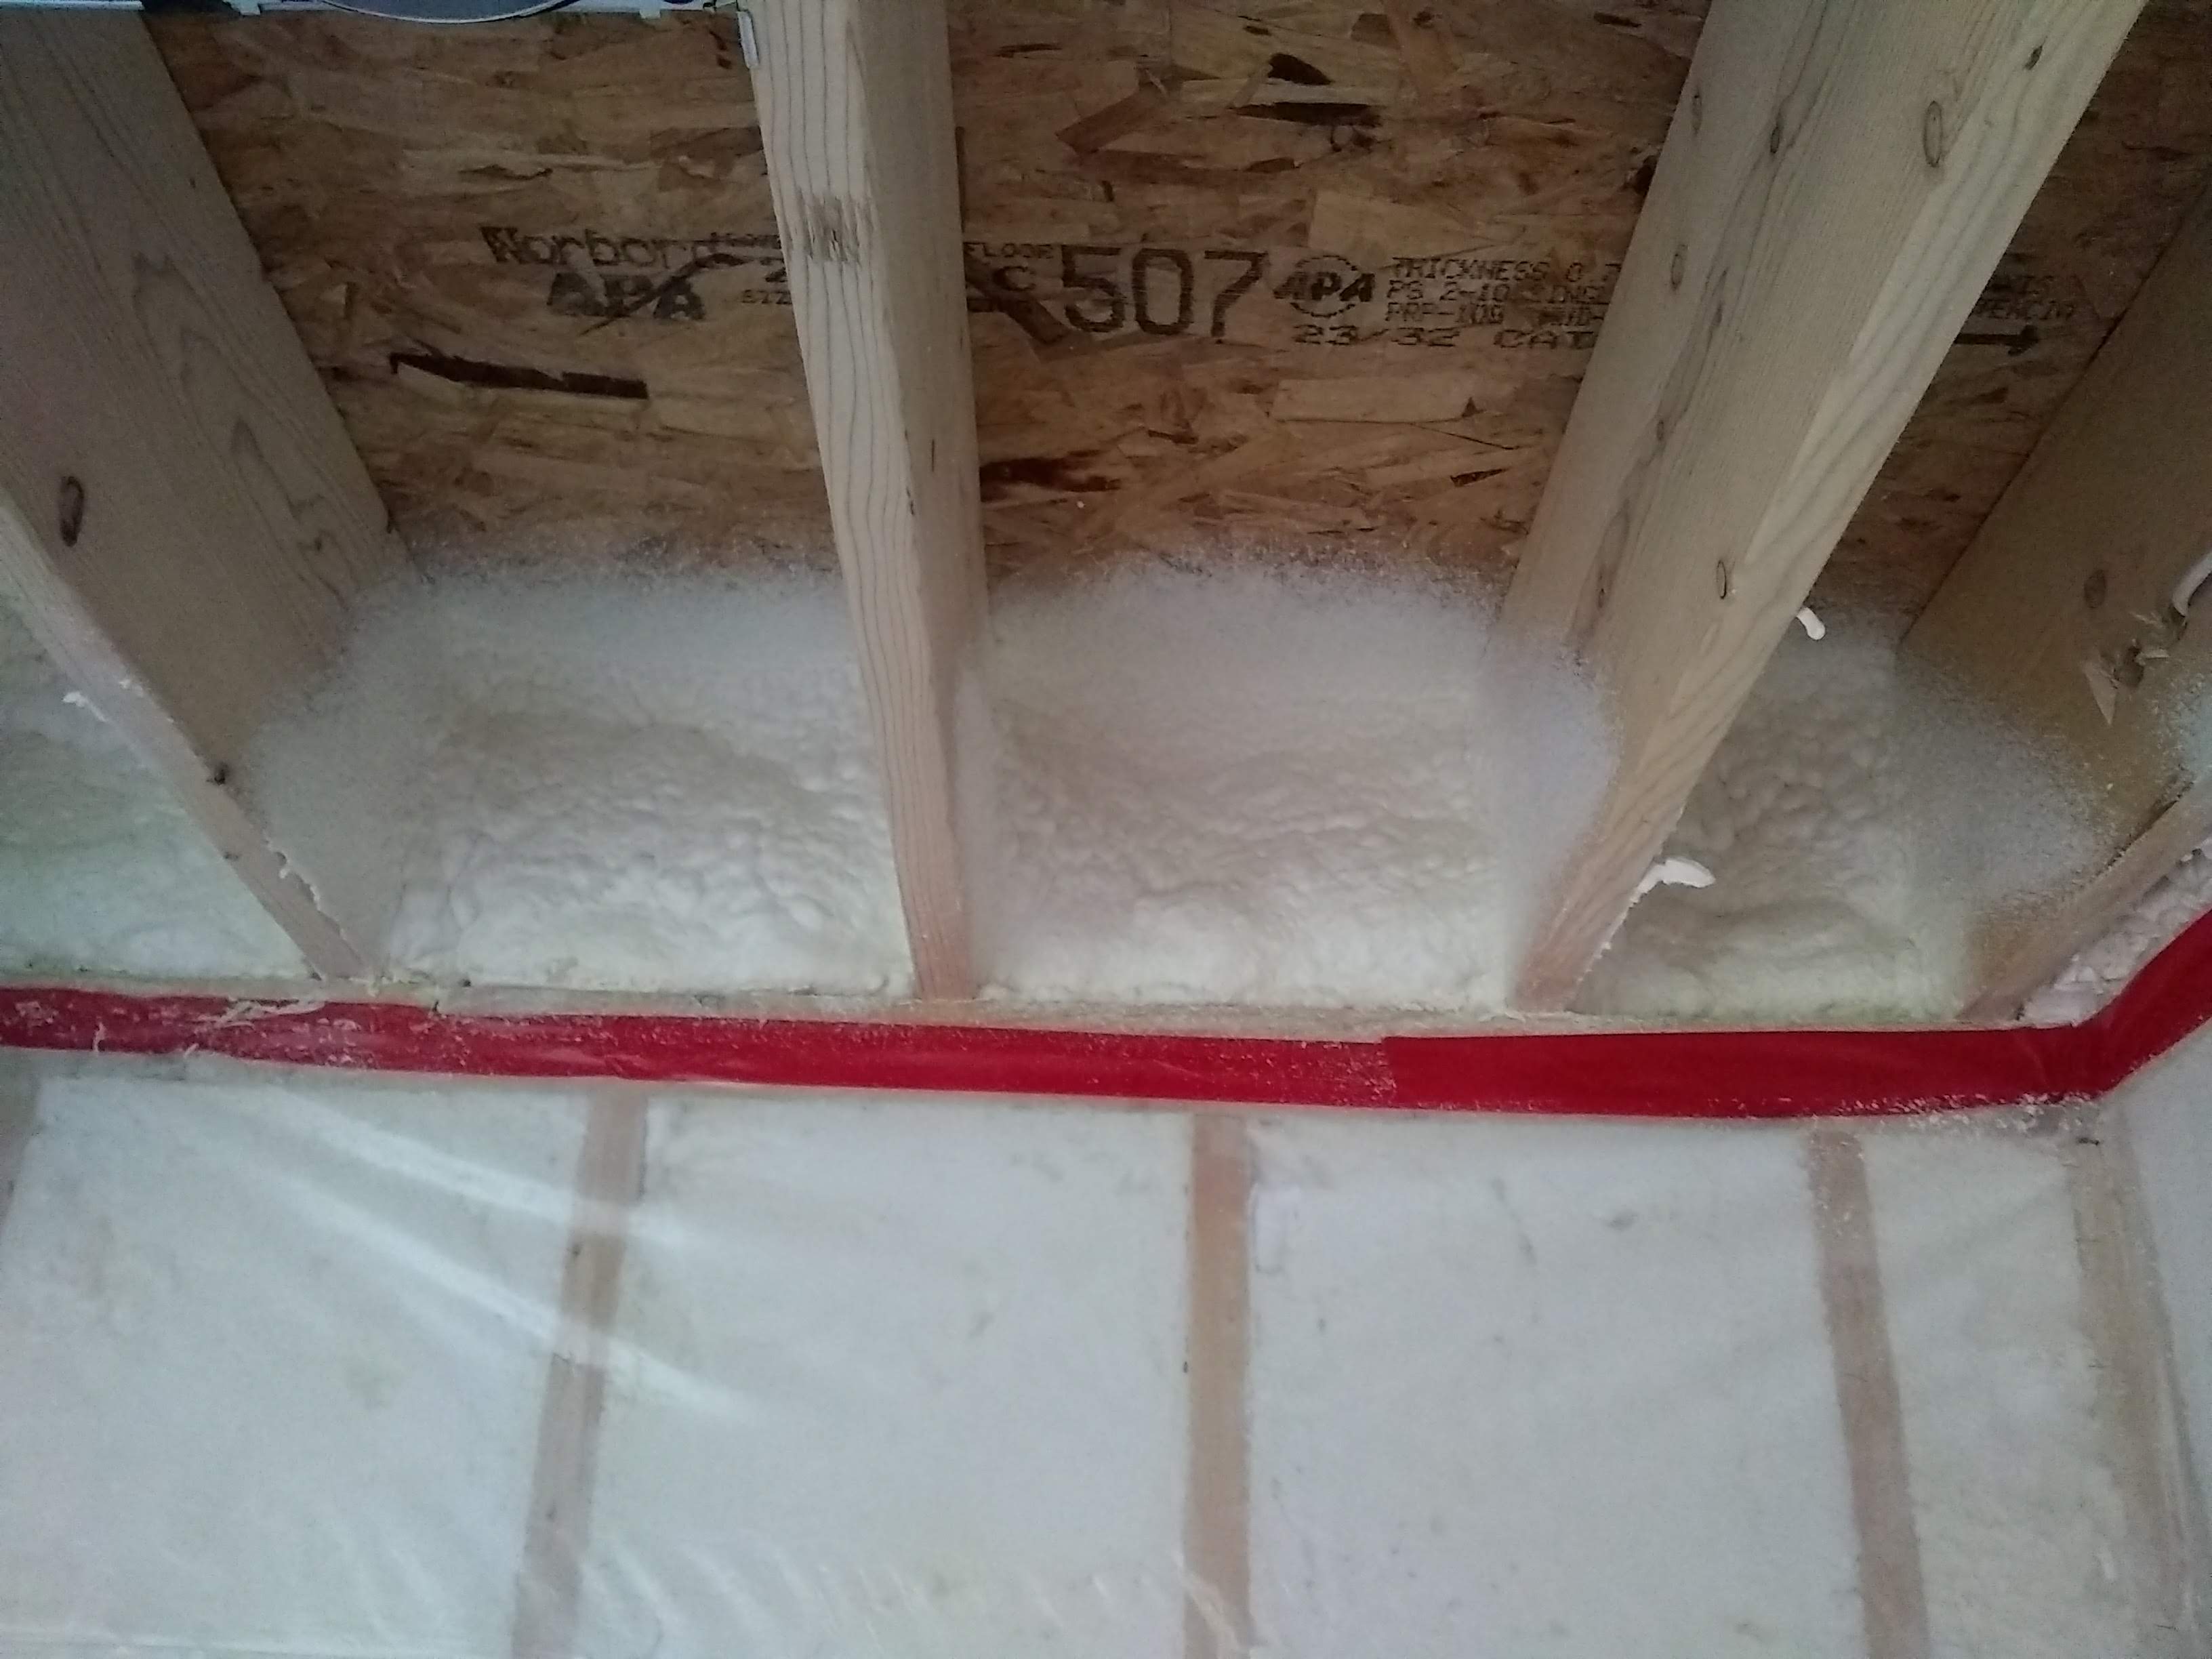
We felt the best way to meet our goals was to combine as many energy features into as few products as possible and in addition was the easiest for a builder to execute. For us this was double stud walls (eliminate thermal bridging) with spray foam as the insulation and air barrier.
Hovel insulation was the contractor which installed the spray foam and blown insulation. Jessie Teed the owner operator of Hovel insulation was professional and passionate about this work. Any suggestions brought up by XRG, our energy audit firm, were immediately addressed. Jessie came out personally to spray the attic and also came out to do a walk through prior to our first blower door test, caulking several places missed during the window installation. I whole hardheartedly recommend their work.
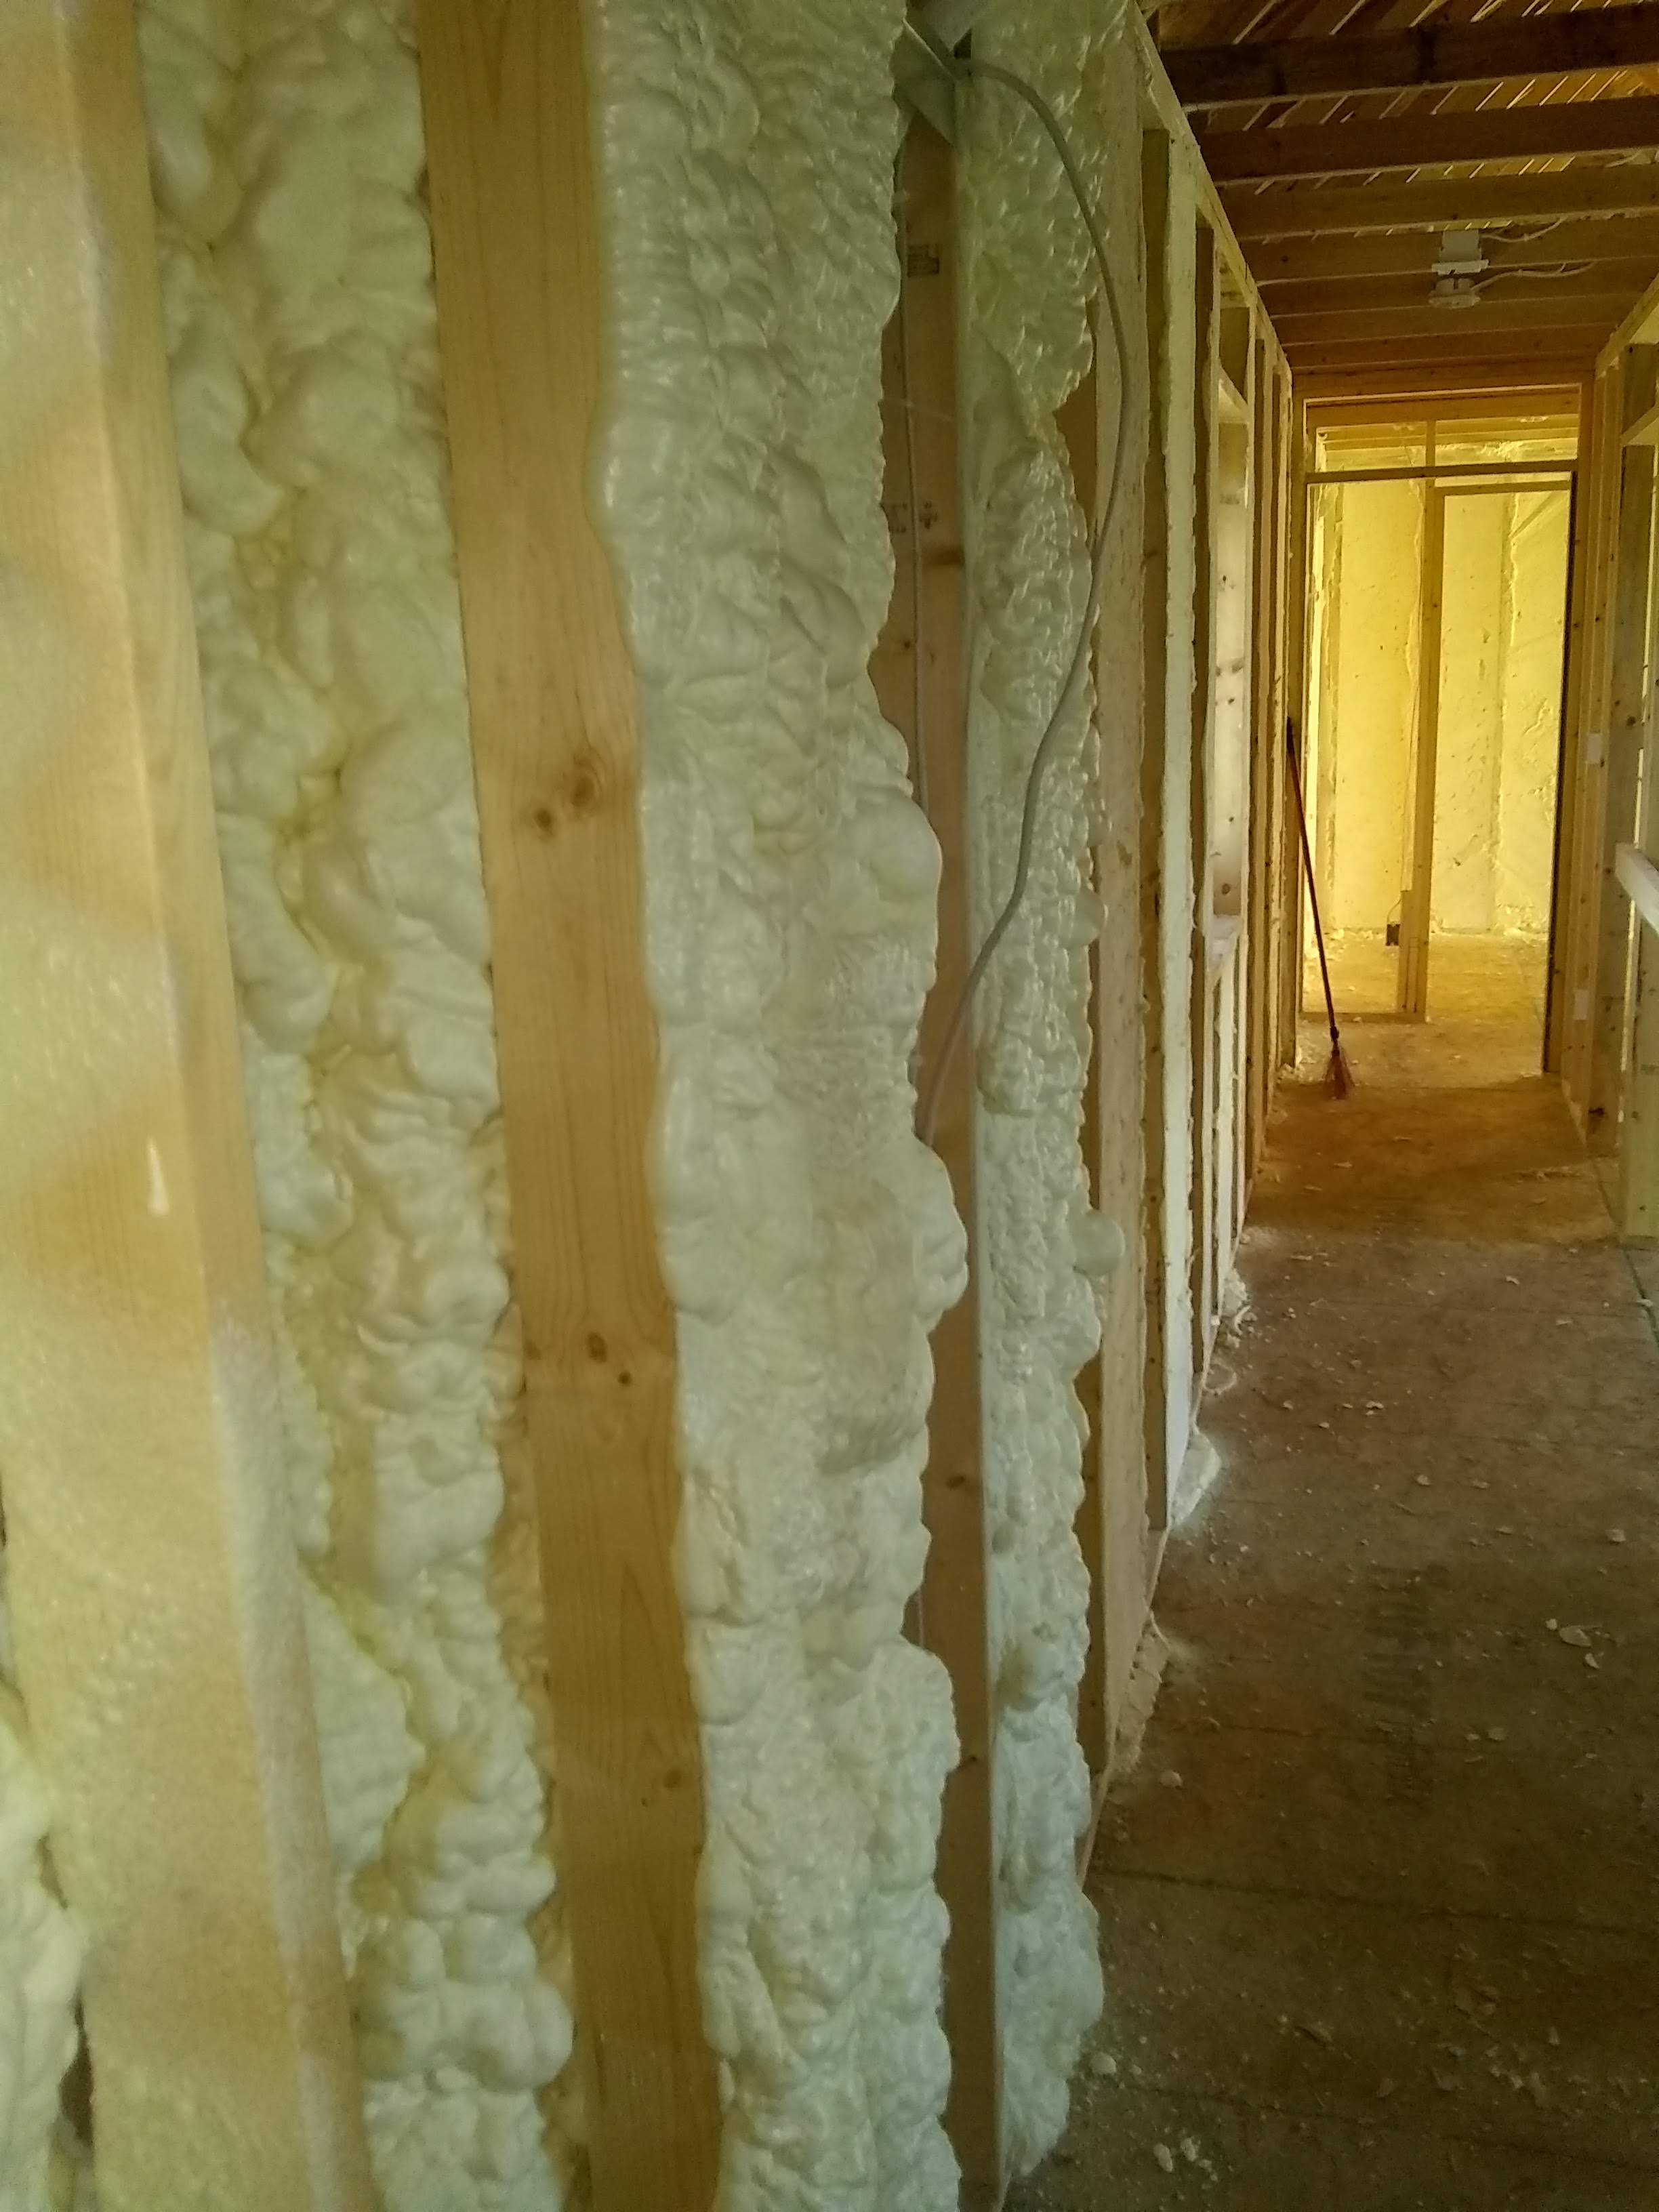
Here is a video of the open cell foam being sprayed in our house and its expansion proud of the stud bays. Love the “Hells Bells” in the background.
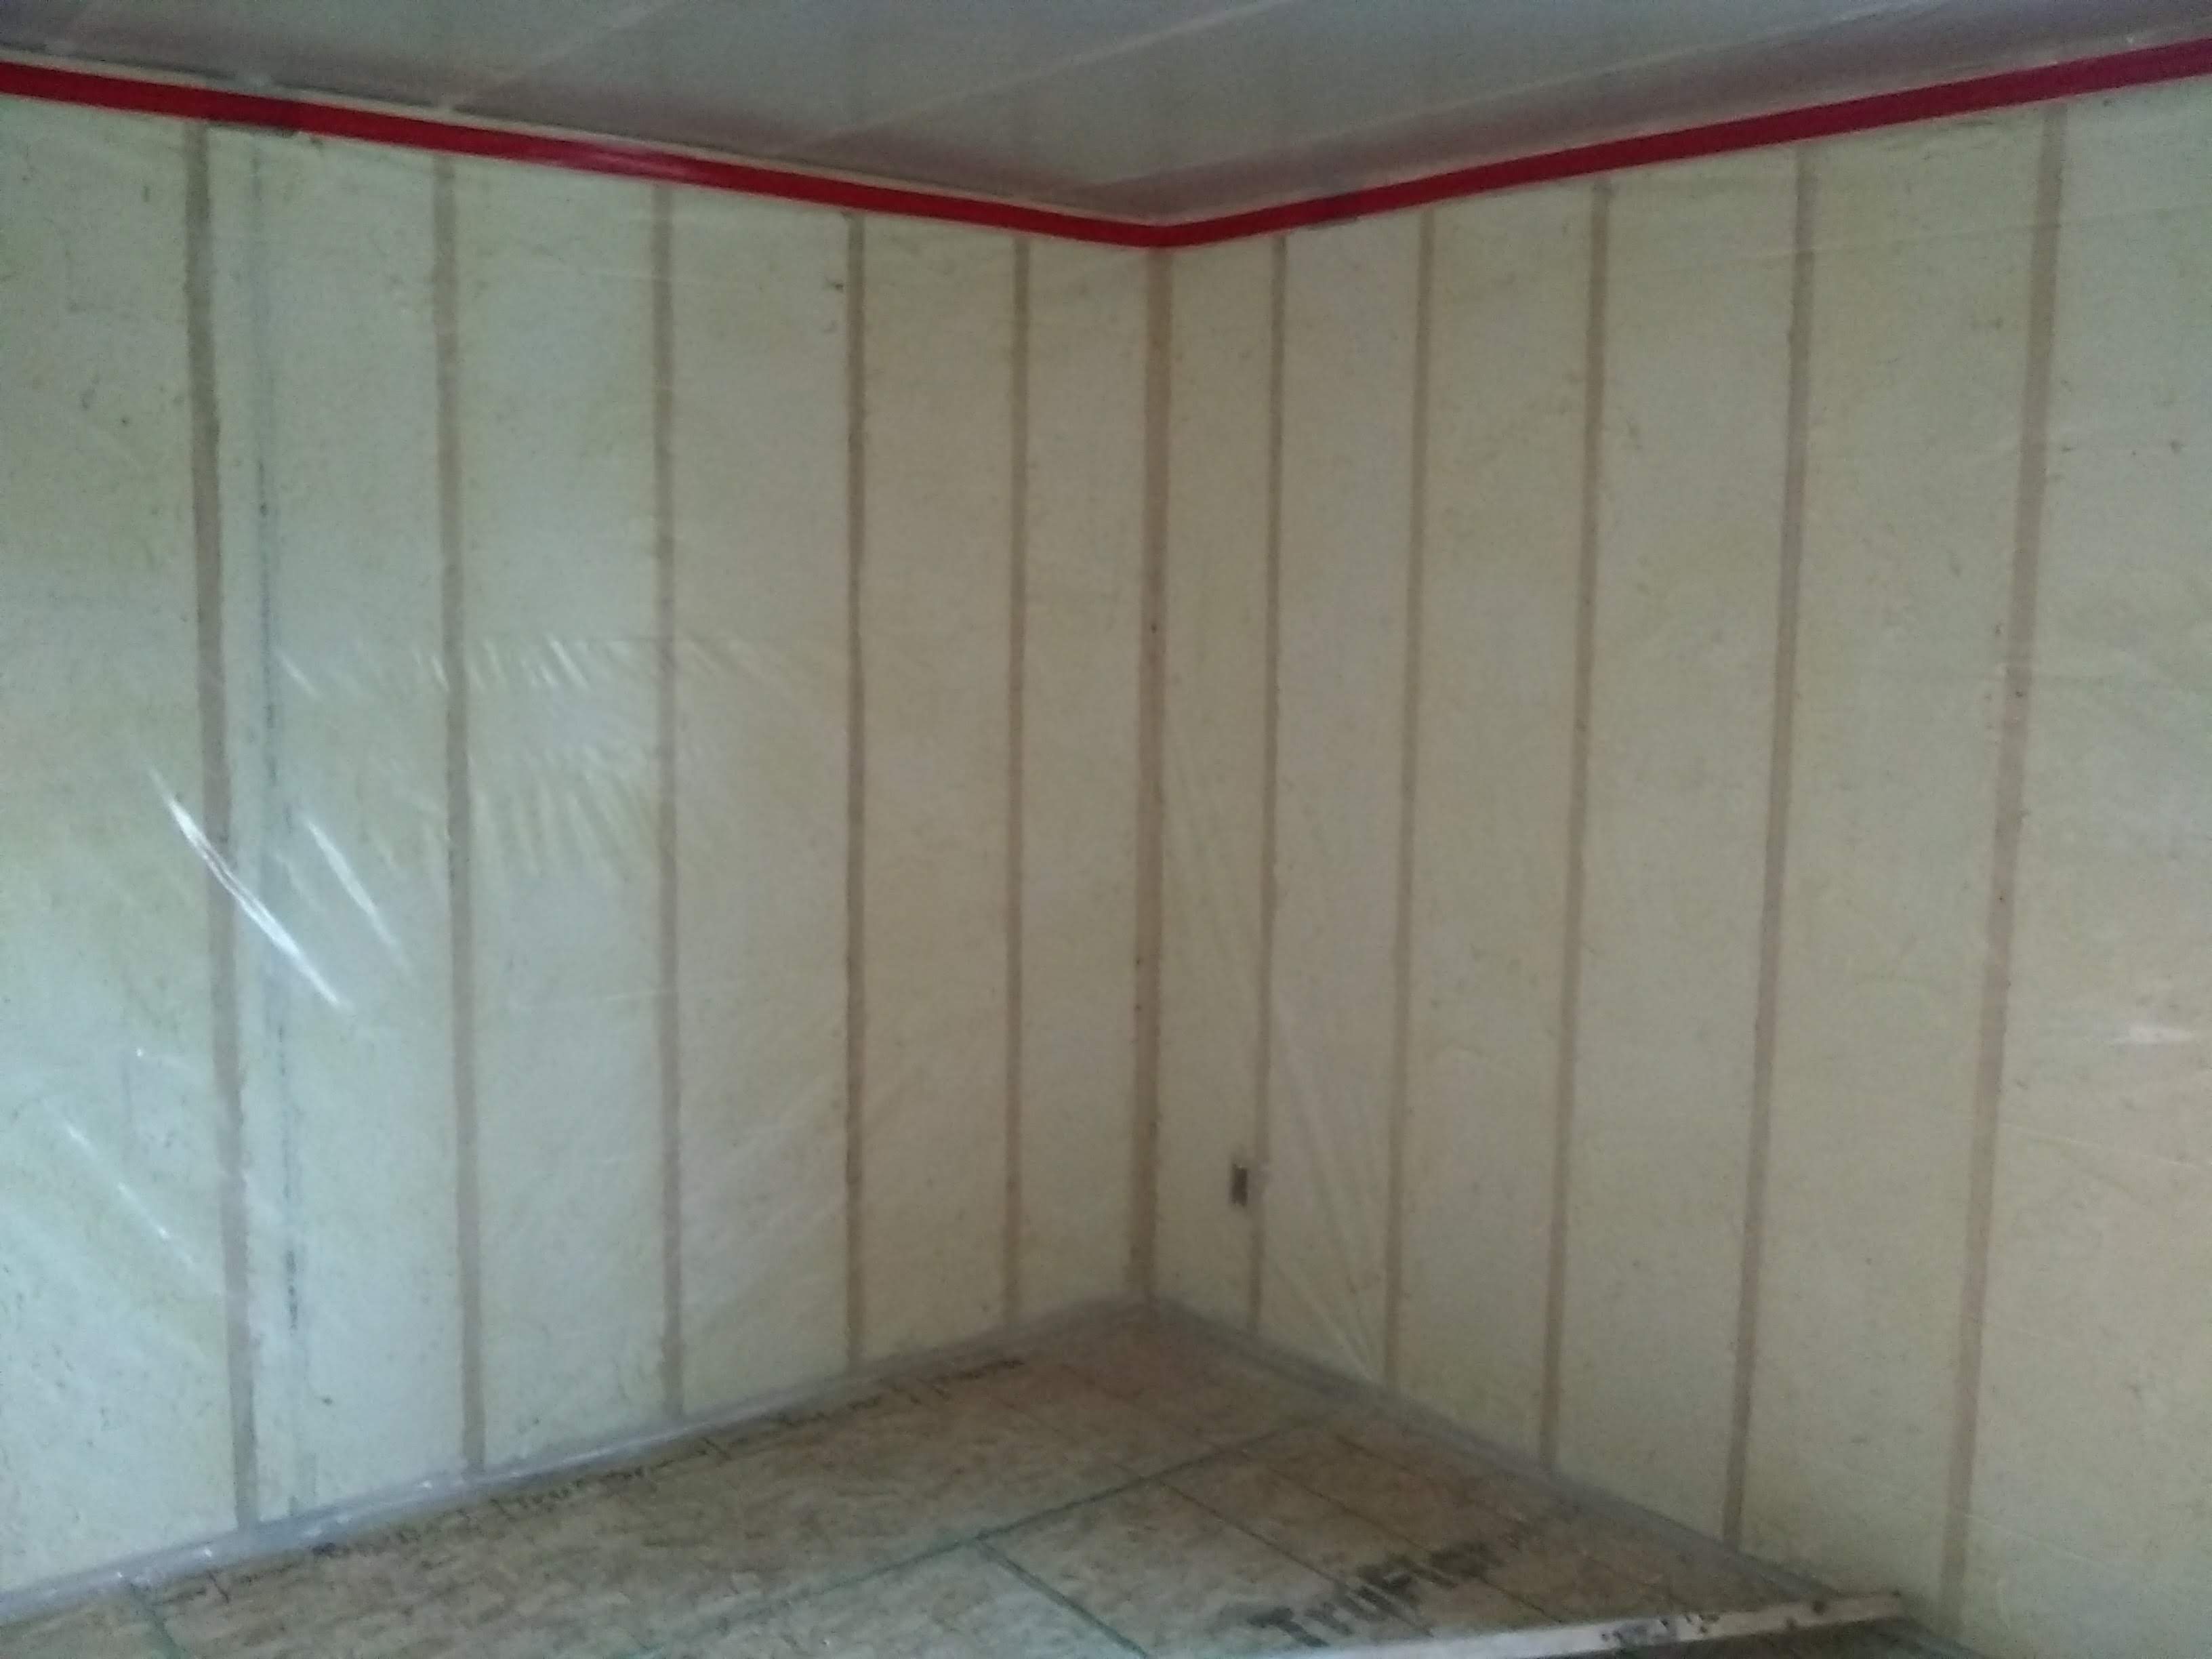
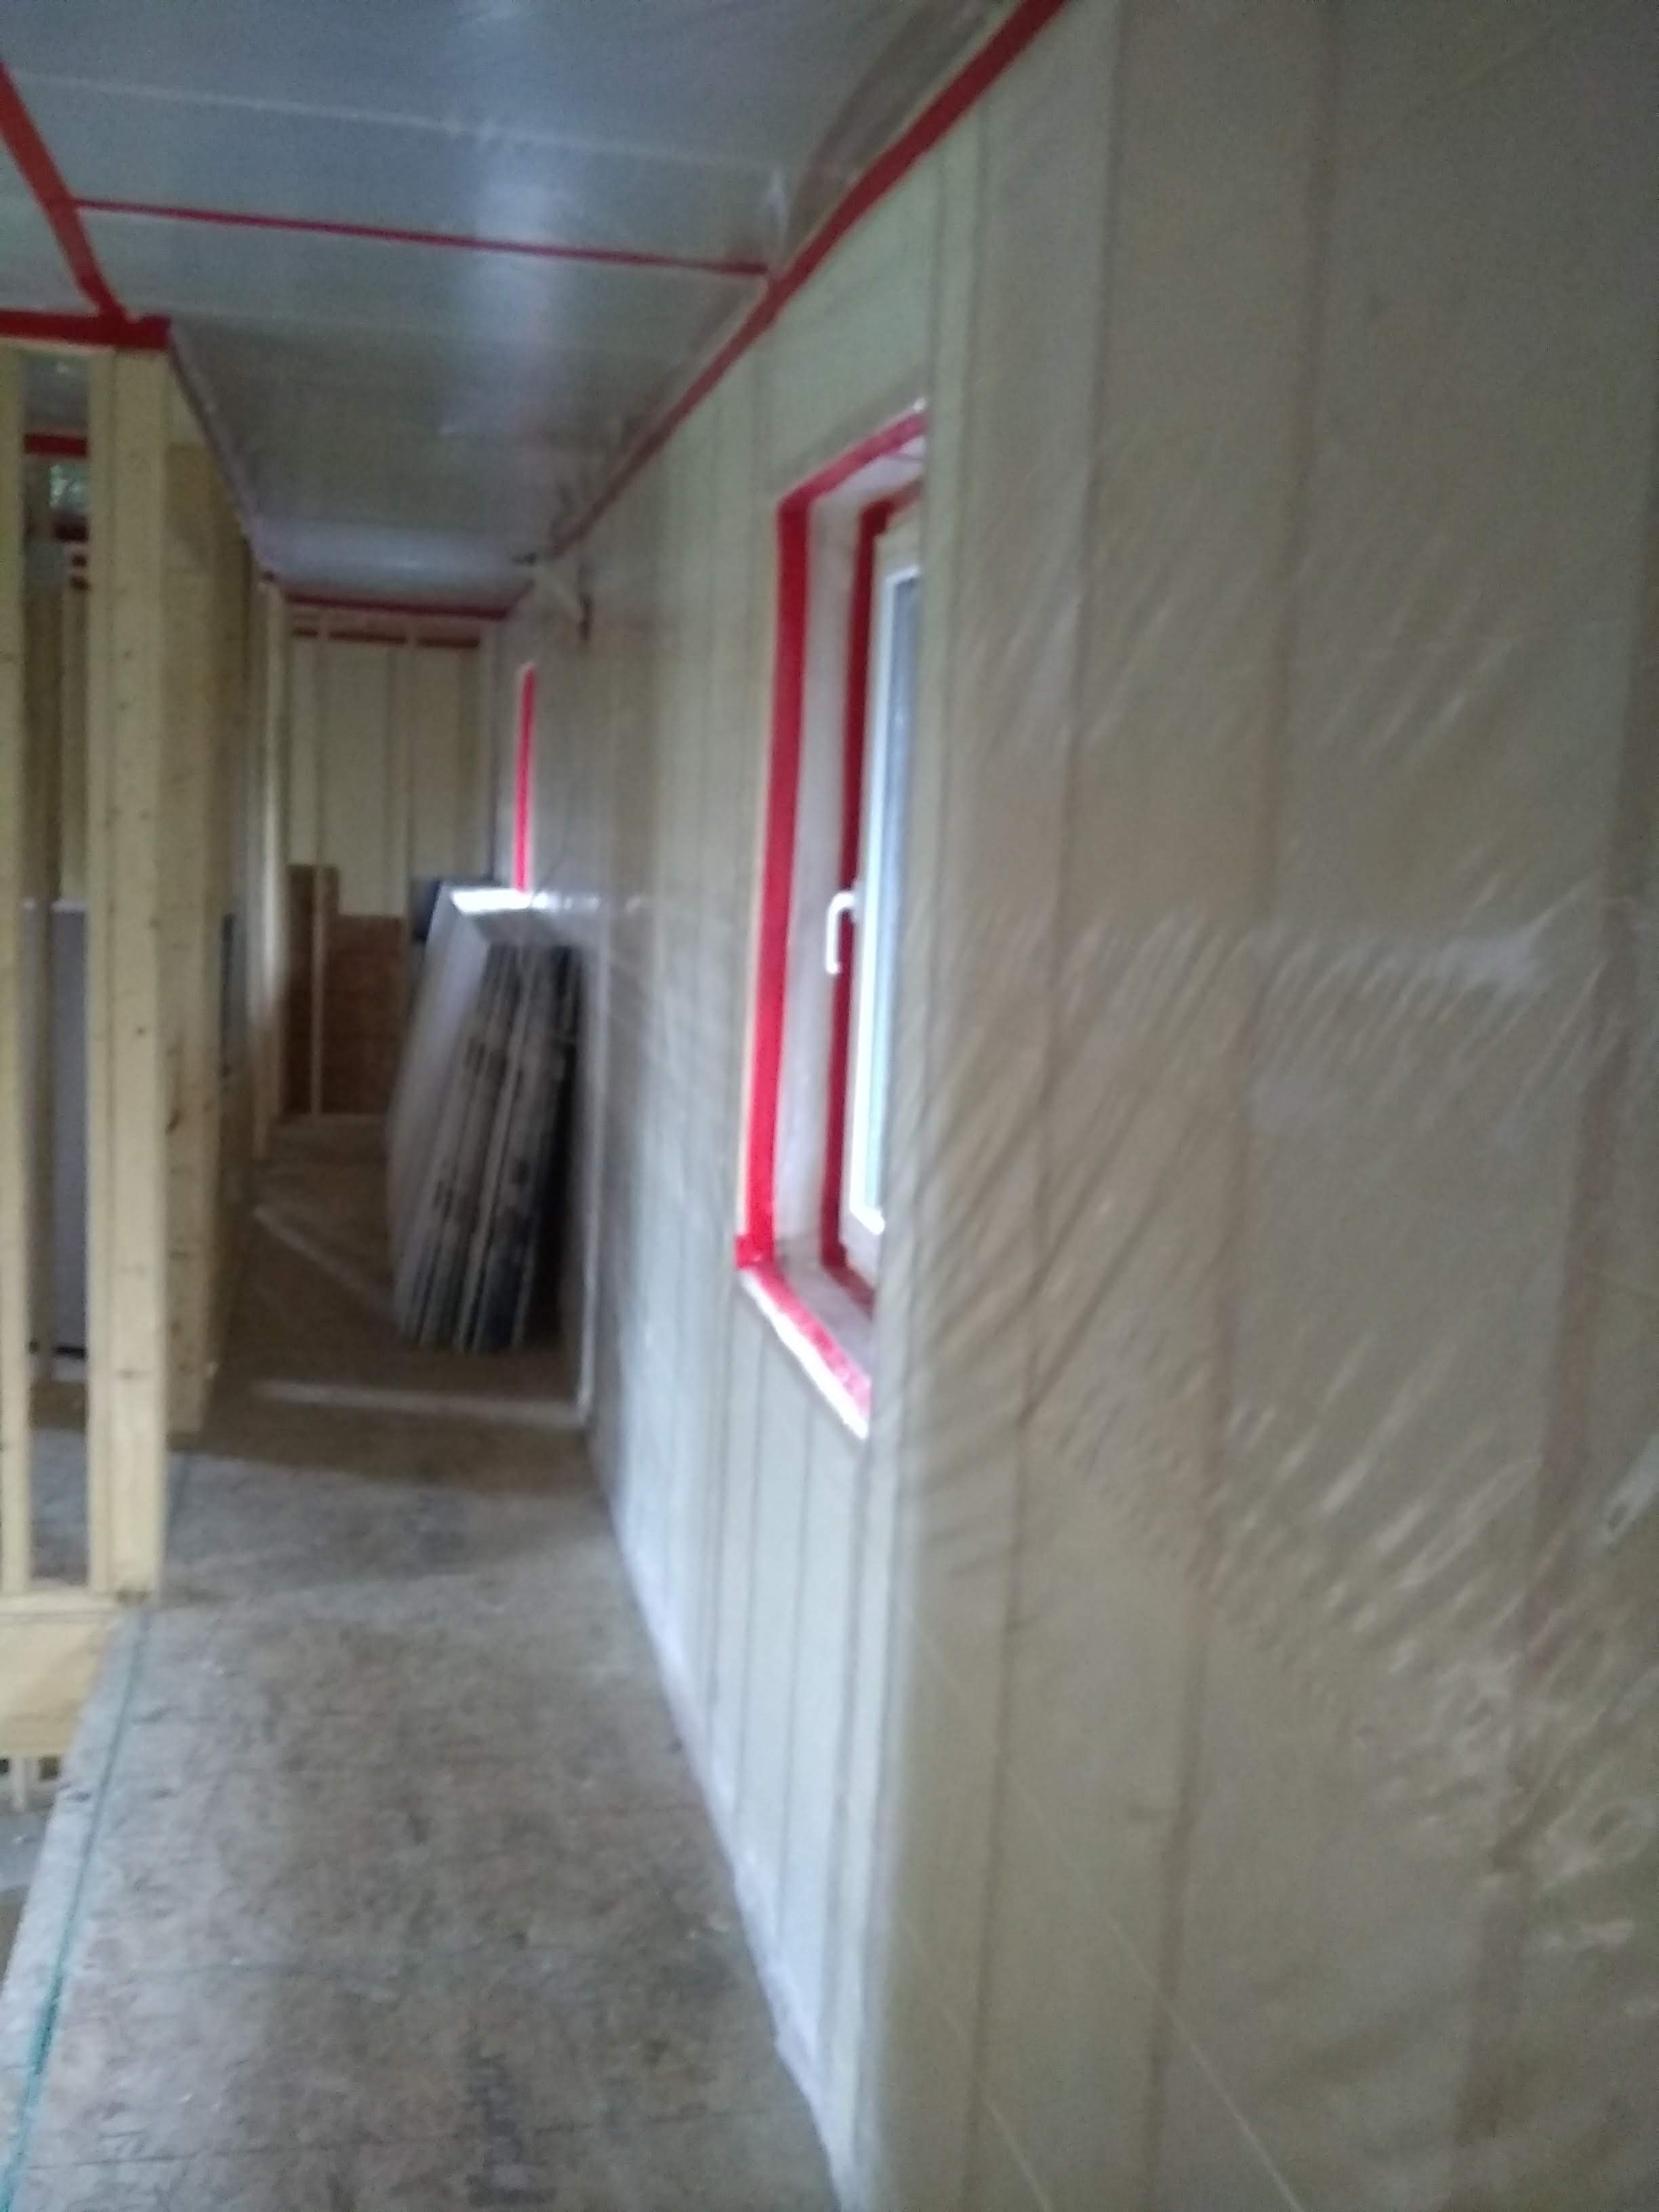
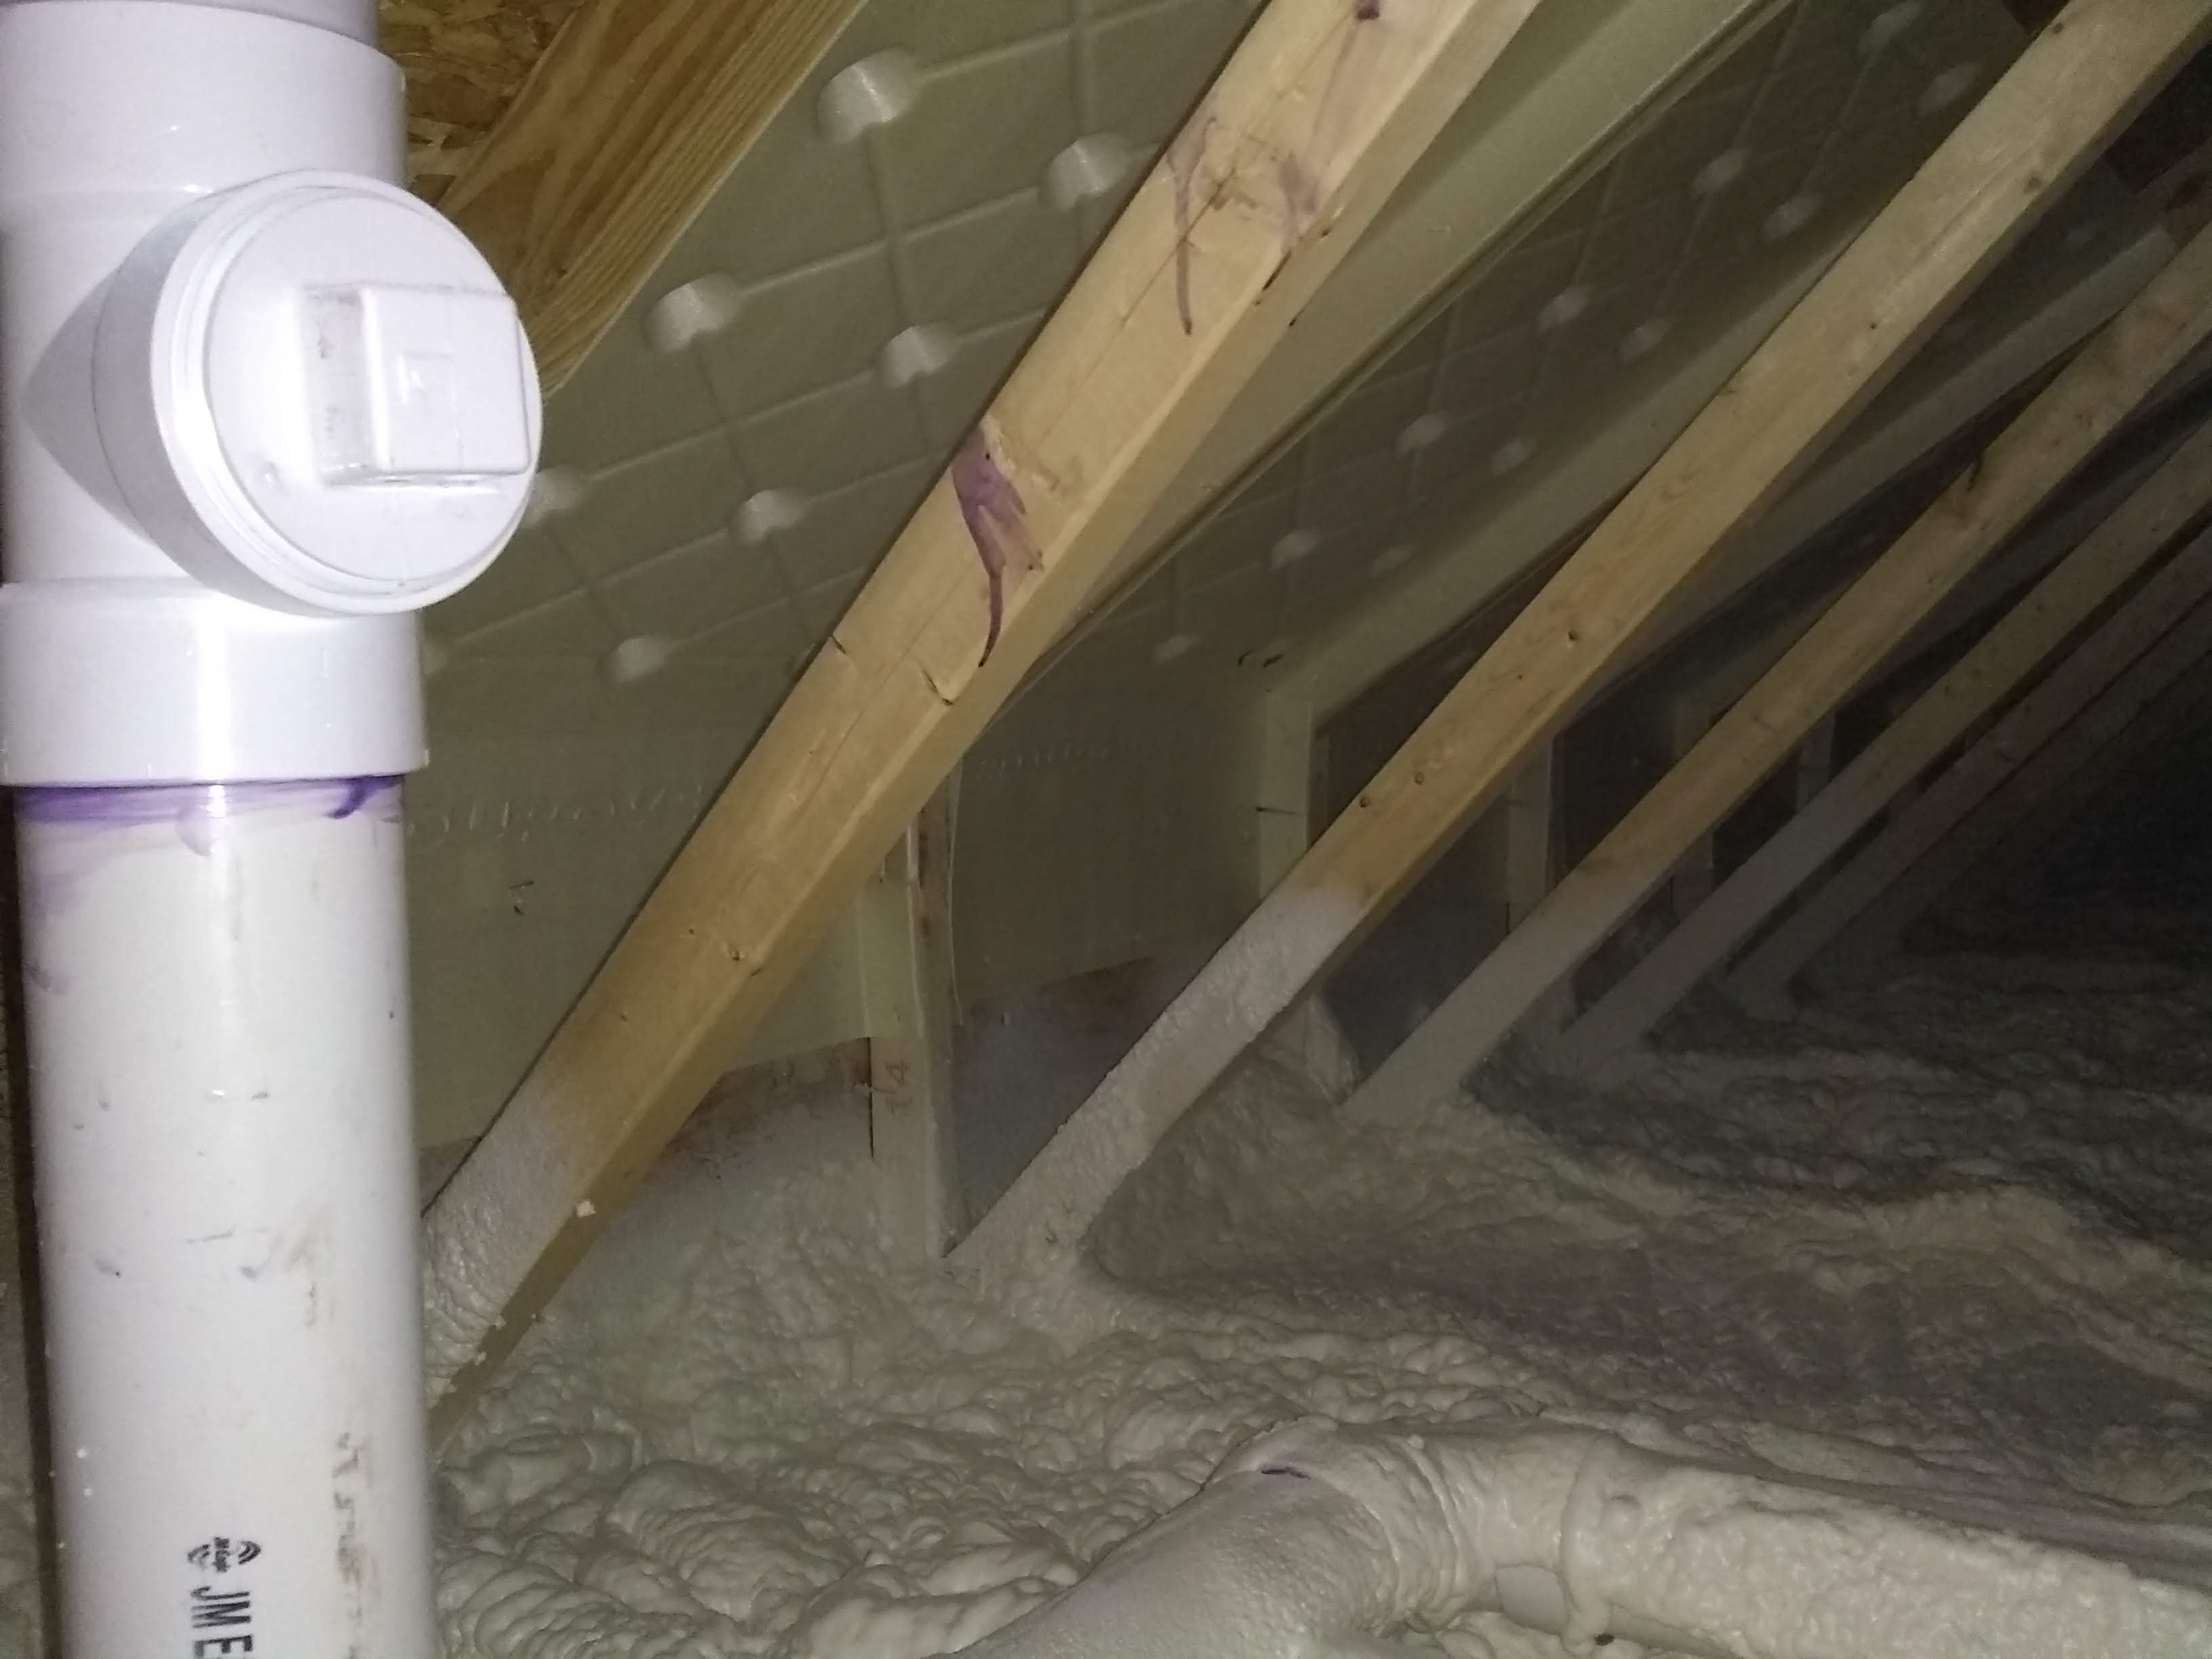
Here are some photos of some of the finished work. The final covering over the stud bays is 5 mM poly as open cell foam is not as good as a vapor barrier as closed cell. The attic was sprayed with 4 inches of open cell foam (air barrier R-14) and then layered with blown fiberglass (R-75). The attic is a Raised Heel Roof with 12 inches of height. This allows the same depth of insulation to be sprayed across the whole roof without being restricted by the roof slope.