Smashup of Cattle Panel Greenhouse and Straw Bale Gardening

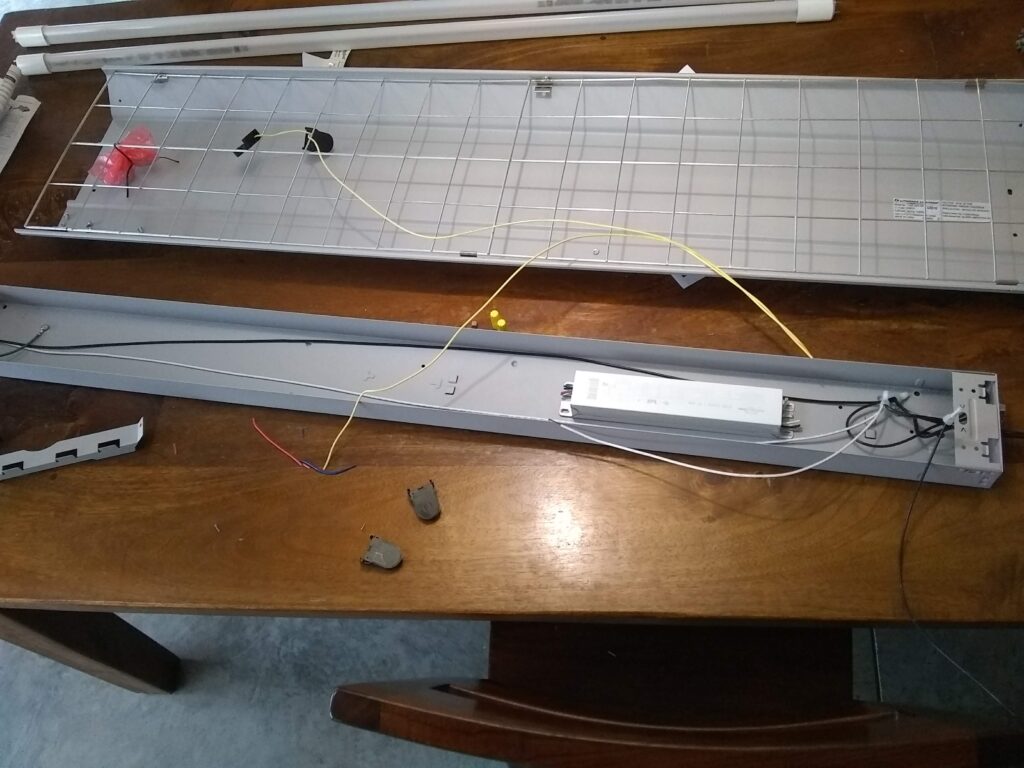
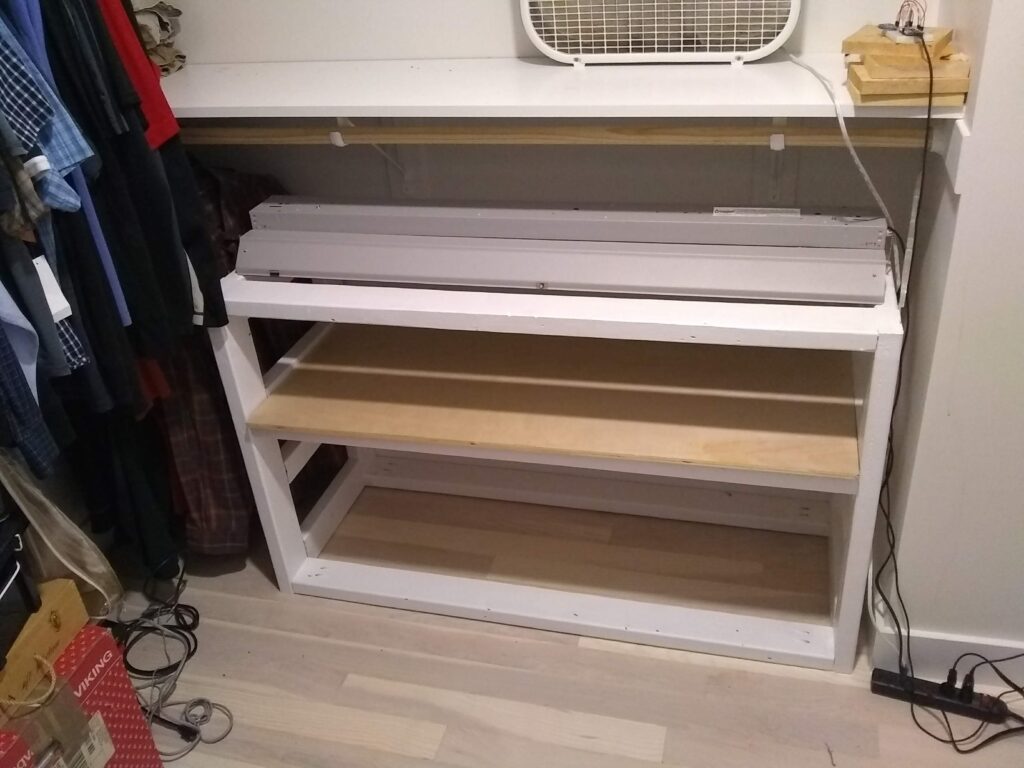
I usually start our seeds indoors and get our garden plants started about 4-6 weeks before the last frost date here in Rochester which is May 15th. While we do get some awesome light through our large south facing windows during the winter months, once spring arrives our large overhangs starts to limit how much direct sunlight seedlings would get during the day. In addition window light tends to make the plants leggy and not straight as they bend towards the window. Our first solution is indoor grow lights. We built a two shop light growing area that would fit in one of our closets.

Here is the start of the build
I purchased a new LED stoplight fixture, but also had to retrofit an old one to make it compatible with LED rather than fluorescent bulbs. The LED fixtures do not require a ballast (that white square above) and are wired only on one side of the bulb. The new LED bulbs I purchased are from TOGGLE and use up to 60% less power than conventional fluorescent bulbs. Thats important for something thats going to be on 12 hours a day.
Here it is in the closet, with one shelf and light fixture in place.
Here it is fully installed with seedlings. It fits four trays of freshly sprouted seeds. They have to be raised as close to the light as possible when young so they do not stretch towards the light. Once the seedlings are 3-4 inches tall then the trays can be stored sideways directly on the shelf which each shelf holding 4 trays.

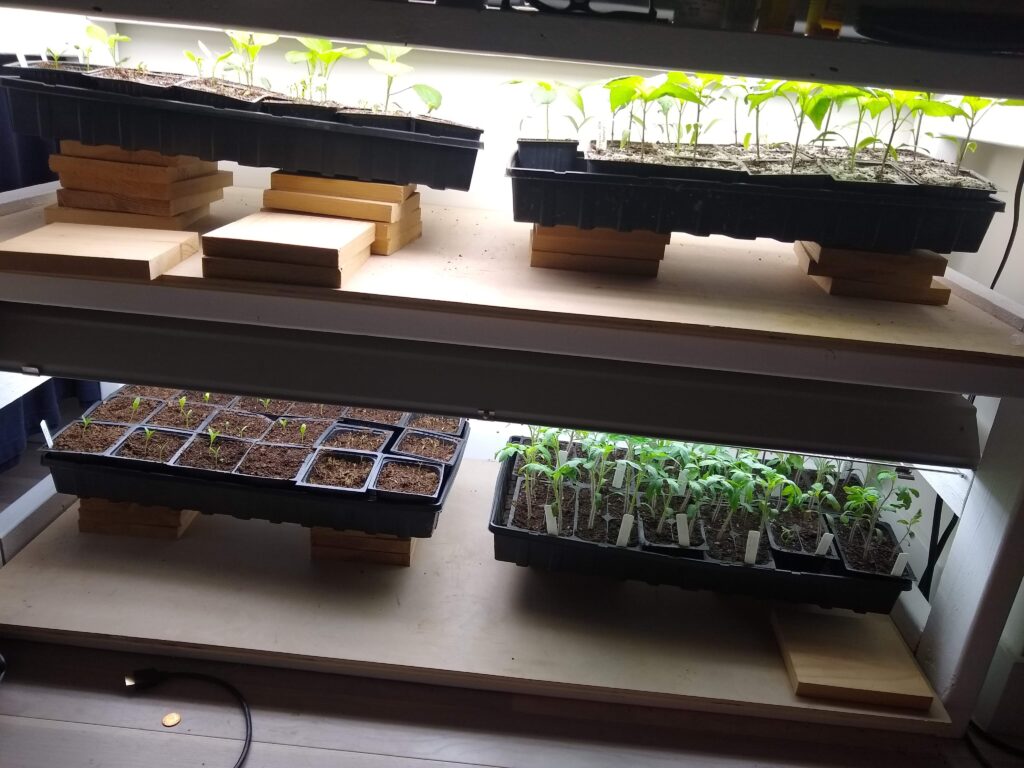
The grow light system works well but there is limited space and the plants then have to be “hardened off” before they can survive outside. Hardening off is the process of acclimating your plants to the outdoors so they can survive sun, wind, cold, and other elements they weren’t exposed to while growing indoors. Often if not done correctly taking the seedlings outdoors can kill the plants.

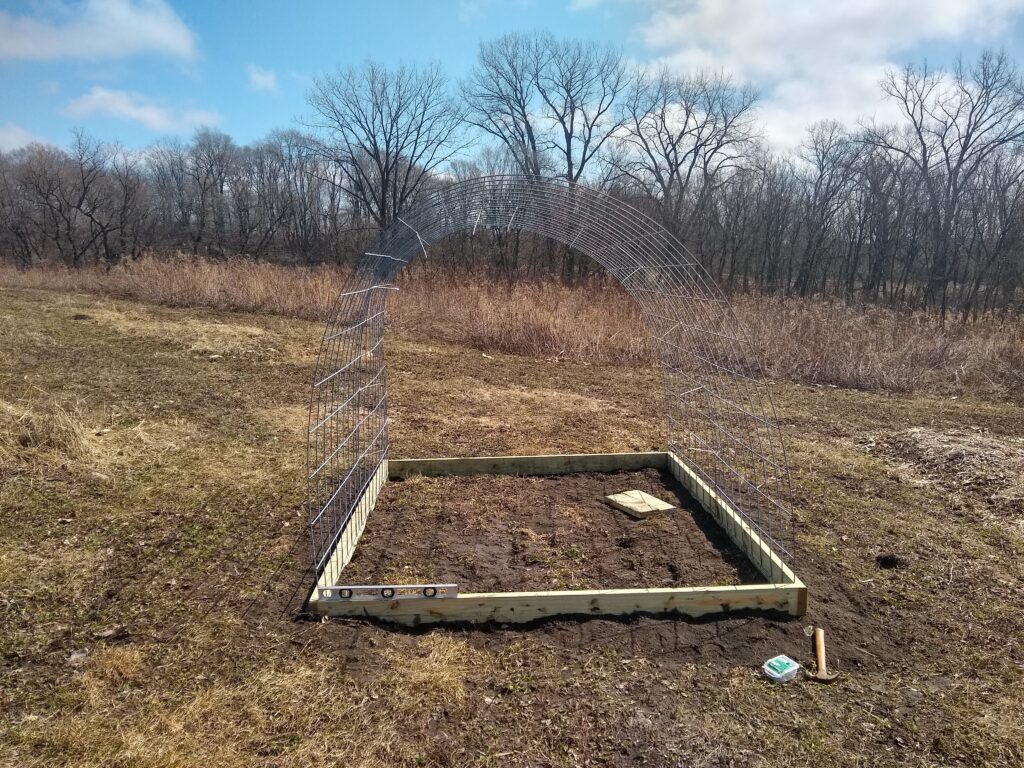
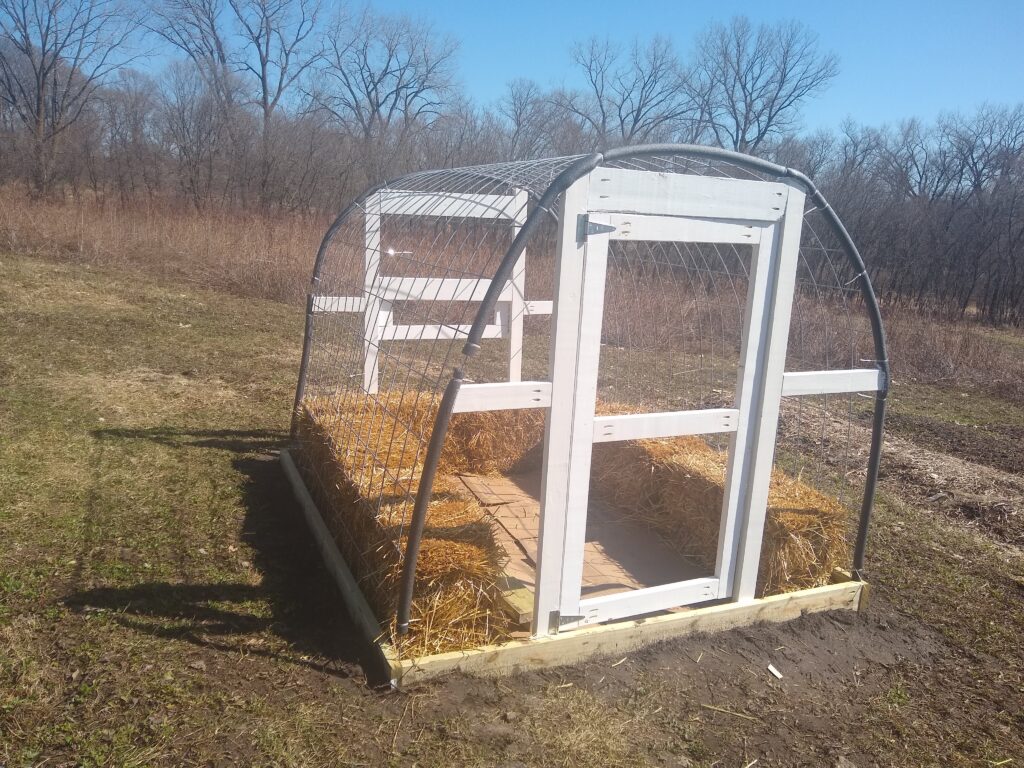
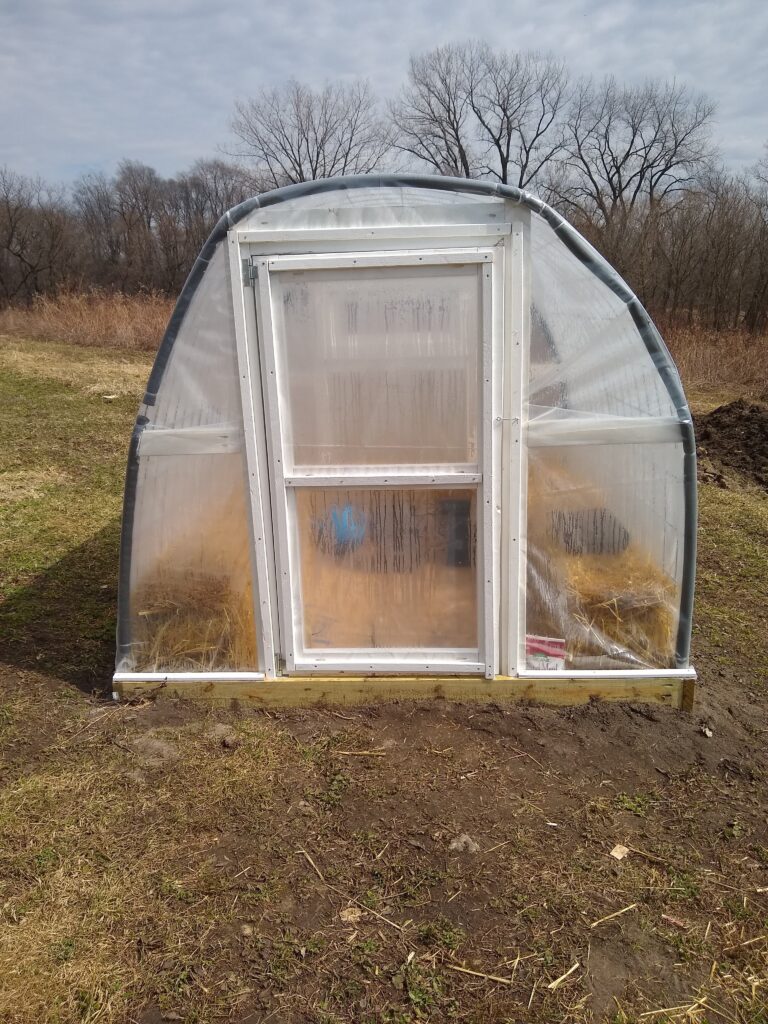
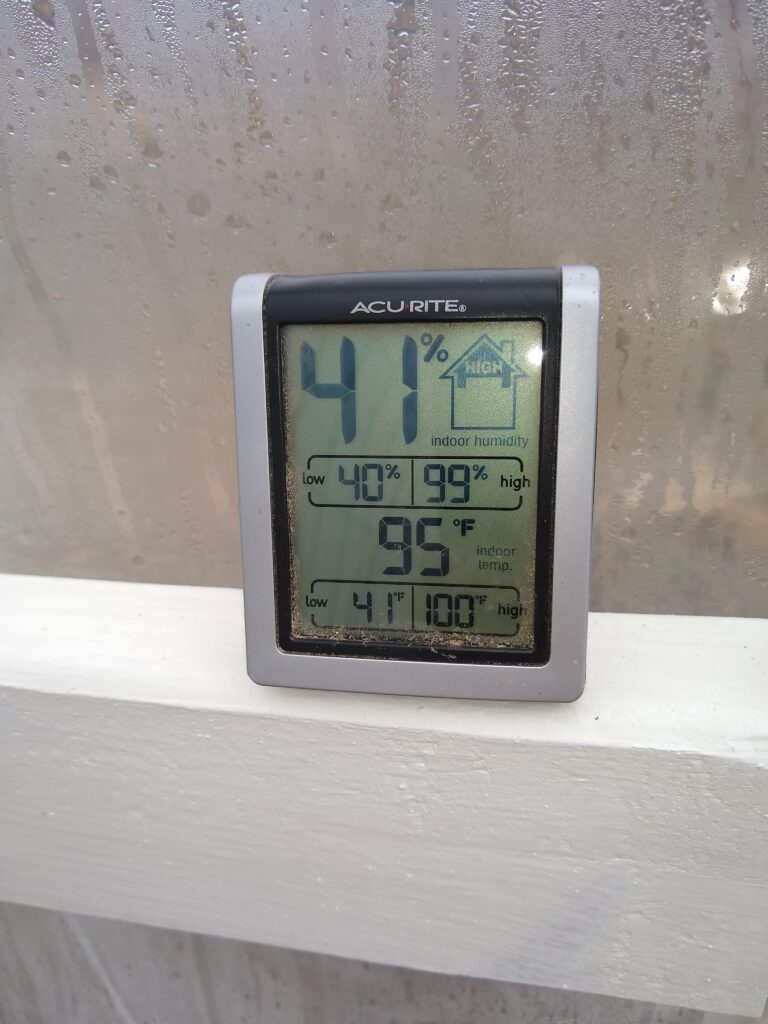
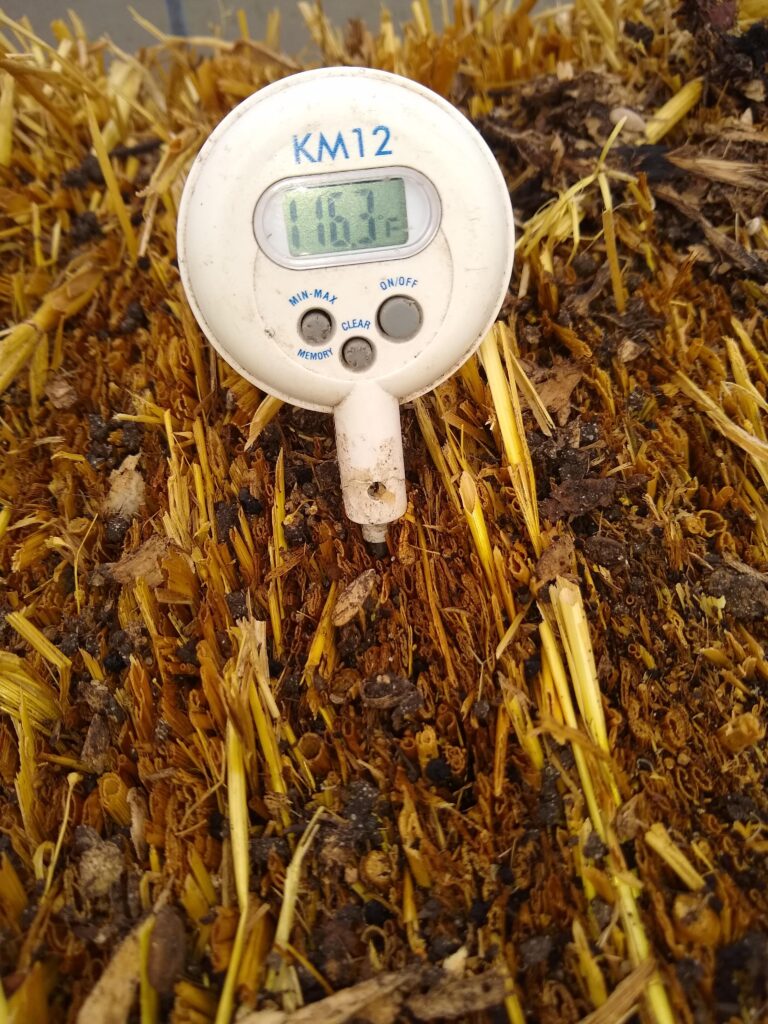
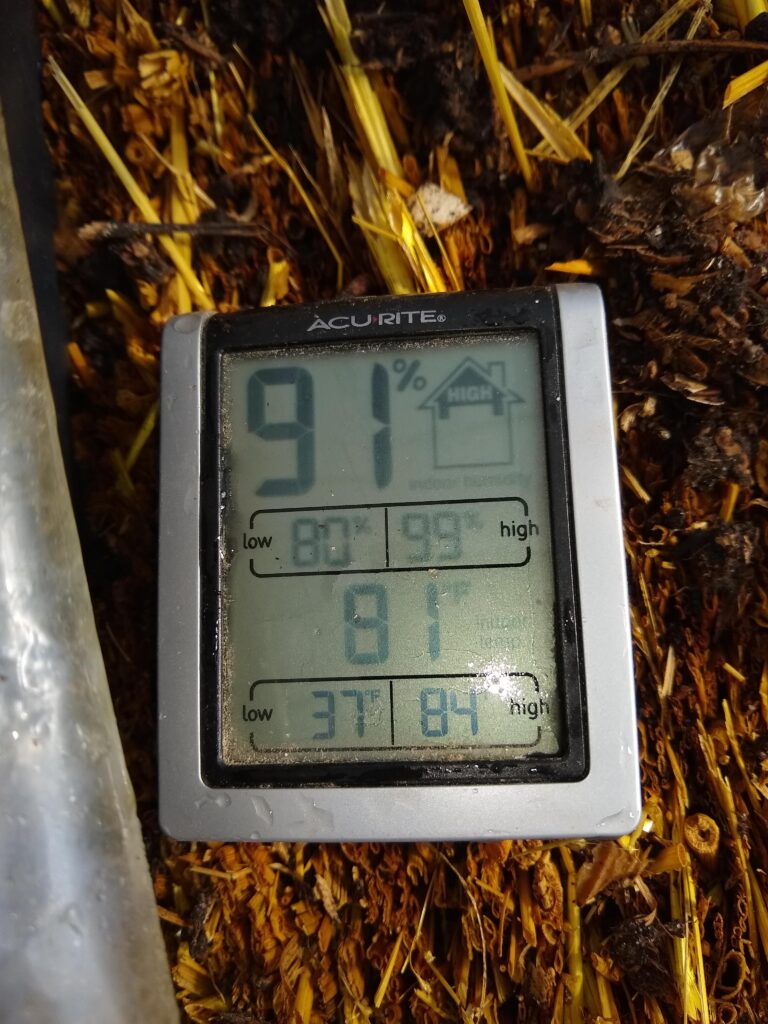
So I wanted to build a mini greenhouse where I could grow many of our seedlings prior to our last frost date of May 15th and come up with a plan on how the plants would survive if the temperature did drop towards freezing at night. We combined a cattle panel greenhouse which is popular on gardening videos and straw bale gardening which was recently proposed as a novel heat source for mini greenhouses.

I leveled the ground and built a 7 foot by 8 foot 8 inch box out of 2 x 6 ground contact treated lumber. Two 16 foot by 50 inch cattle panels were obtained from tractor supply company and arched in the inner portion of the box.
The cattle panels are attached to the box with fence staples
2 x 4 lumber is used to create endpoints on the sides for application of the green house plastic and to create windows and doors. Pipe insulation is wrapped on the ends of the arches to protect the plastic. Cardboard was laid down for the floor, and six straw bales line the inner sides.
Here is the greenhouse with the 6 mil greenhouse plastic applied. The plastic is UV protected and is suppossed to last 4 years. The plastic is held in place with 1×2 furring strips.
Here is a day when it was 60 degrees out with the windows closed…. Yikes! A high temp of 100 and 99% humidity! Time to open the windows.
The first step in straw bale gardening is to saturate the straw with water and then apply fertilizer (looking to add nitrogen). When the microbes in the straw bale start to break down the center of the bale into compost the temperature of the bale raises. Often as high as 130 degrees. This will hopefully be able to keep the temperature of the greenhouse at night above freezing.
On really cold nights if I need to protect fresh seed starts or tiny sprouts we have a bunch of old shower curtains that can be draped over the trays sitting on the warm bales.
This is the recording from under the shower curtains after a night where it got down to 21 degrees. The greenhouse/strawbale was able to maintain the flat well above freezing temps (37 degrees).

Leave a Reply

Your email address will not be published. Required fields are marked *